How to Set Up Your First HO Scale Train Set
Introduction: Starting Your HO Scale Journey
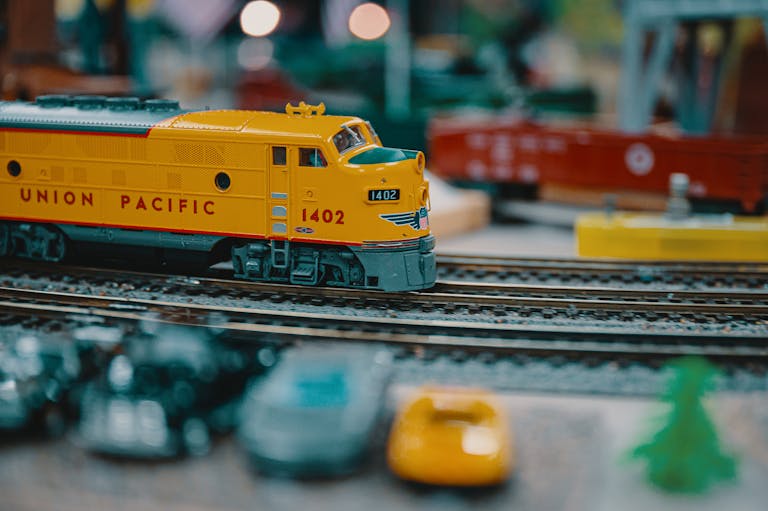
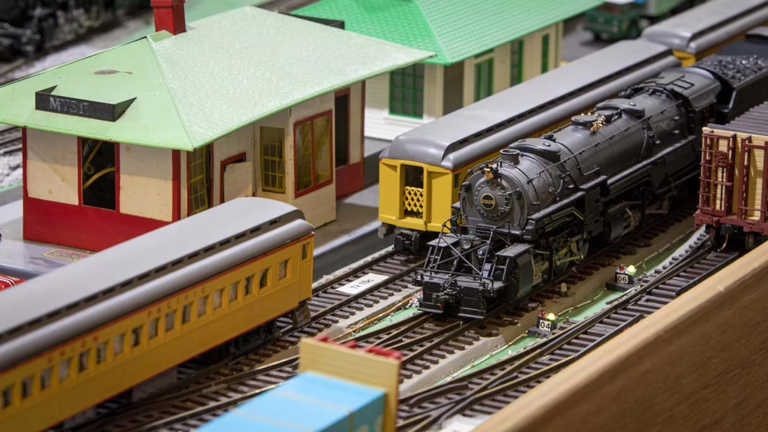
So you’ve decided to start your first model railroad—welcome aboard! Whether you’re rediscovering a childhood hobby or diving in for the first time, HO scale is an excellent place to begin. With the perfect balance between size, detail, and availability, HO scale model trains are the most popular choice among beginners and seasoned hobbyists alike.
This guide will walk you through the entire process of setting up your first HO scale train set. From choosing the right equipment to laying down track and adding scenery, you’ll learn the essential steps to get your miniature railroad up and running smoothly.
Why Choose HO Scale for Your First Train Set?
The Perfect Scale for Beginners
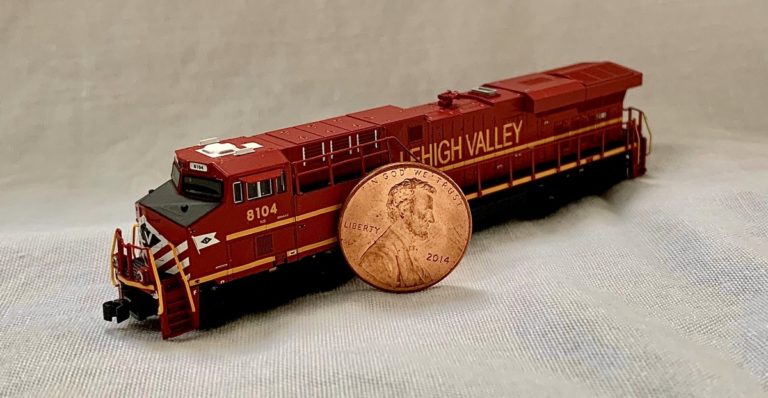
When starting a model railroad, scale refers to the ratio of your model to the real-life version. HO scale (1:87) means that one inch on your model represents 87 inches in real life. Here’s why HO is often recommended for beginners:
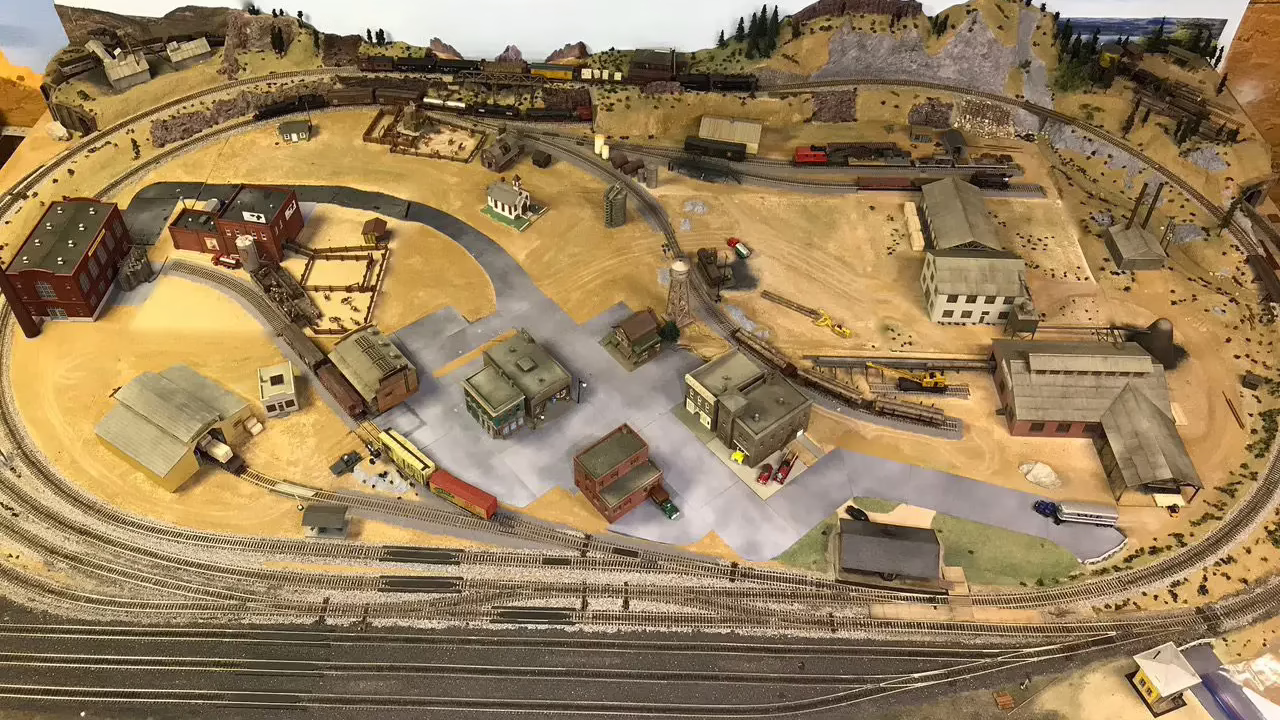
Manageable Size: HO scale is large enough to show impressive detail but small enough to fit in a spare room or basement. A basic 4×8-foot layout can provide plenty of action without needing a dedicated building.
Widespread Availability: Since it’s the most popular scale, you’ll find HO products everywhere—from local hobby shops to online stores. There’s also a massive community for advice, inspiration, and support.
Budget-Friendly Options: Because of the volume of production, HO scale offers competitive pricing. Starter sets are reasonably priced and include everything you need to get moving.
In short, HO scale gives you access to the widest variety of locomotives, rolling stock, track, and scenery—making it ideal for newcomers who want a rich, customizable experience.
What You Need to Get Started
Setting up your first model railroad doesn’t require a workshop or years of experience. But there are a few essential components you’ll need to gather first.
Starter Train Set
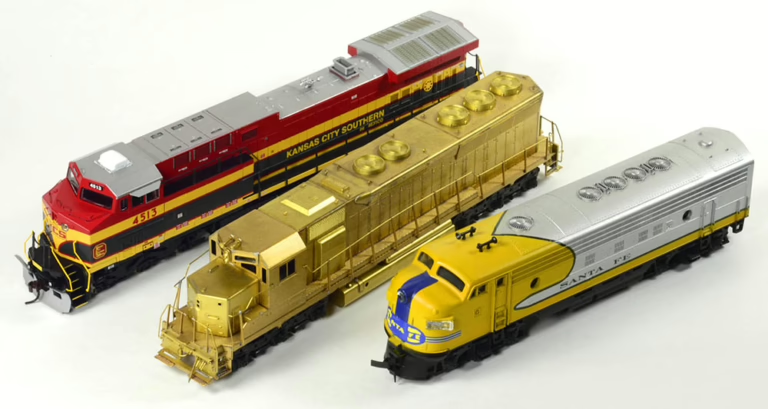
Many brands like Bachmann, Lionel, and Hornby offer HO scale starter sets that include:
- A locomotive (usually a diesel or steam engine)
- Freight or passenger cars
- A basic loop or oval of track
- A controller (also called a power pack)
These sets are great for getting started and offer everything needed to run your first train.
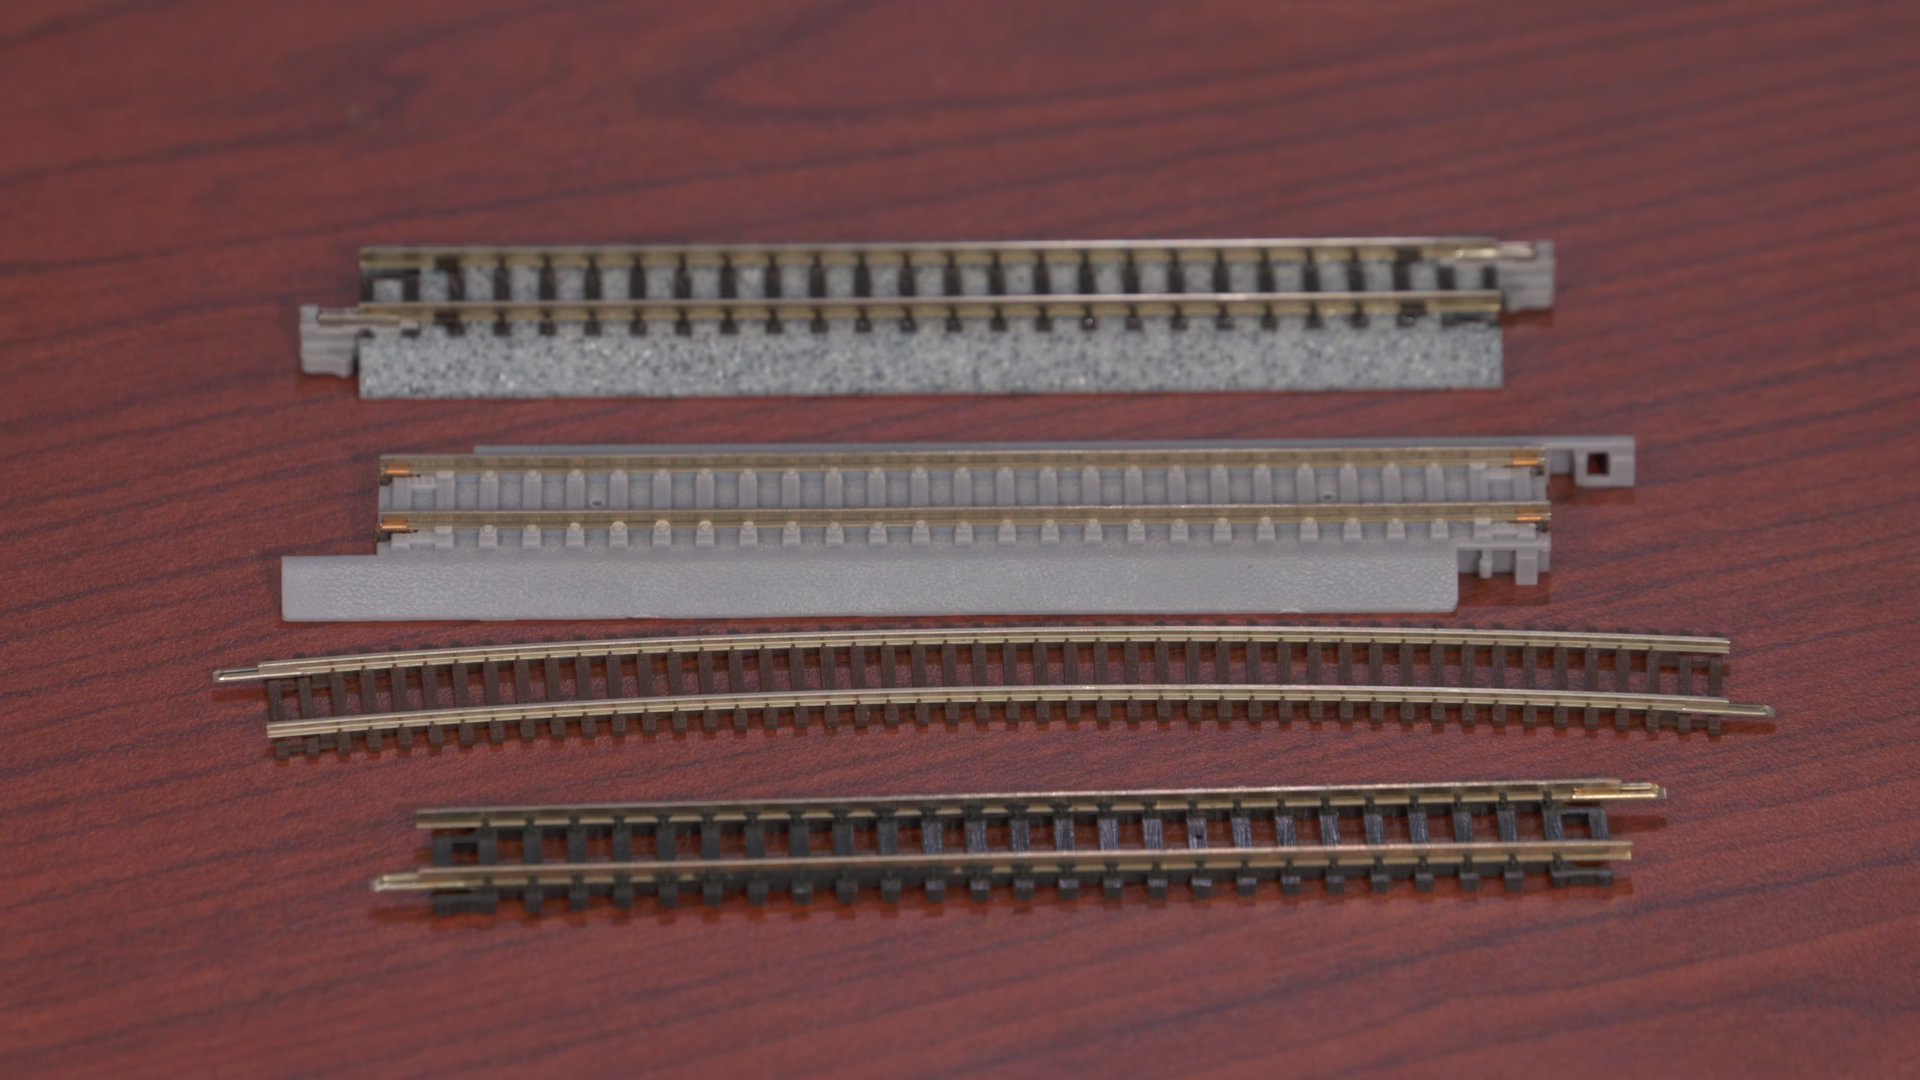
Track Types
You’ll encounter two main types of track:
Sectional Track: Pre-cut and easy to snap together—perfect for beginners.
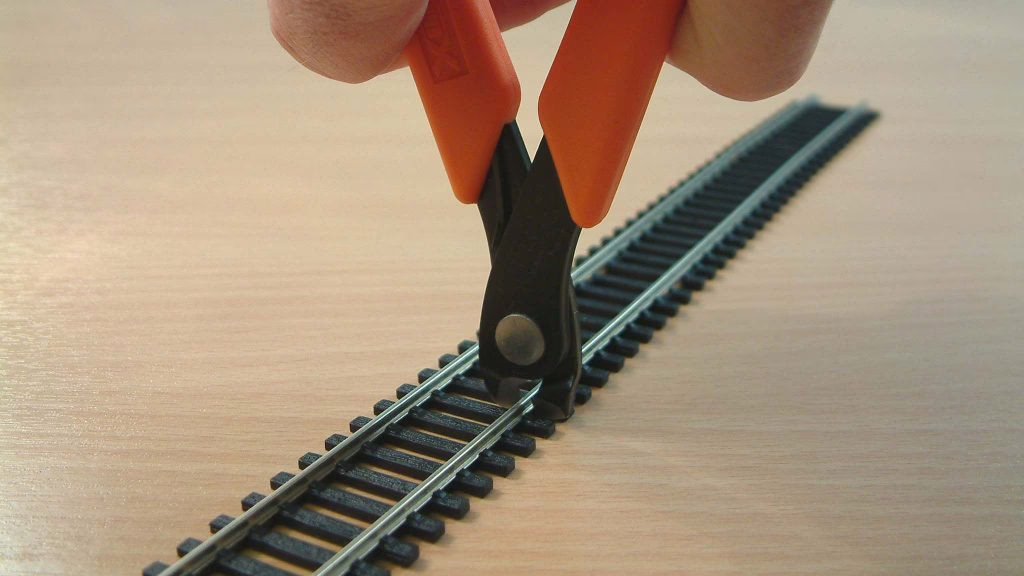
Flex Track: Allows for custom curves and longer runs but requires cutting and fastening.
Most beginners start with Code 83 track, which has realistic rail height and wide compatibility.
Power System
Two main systems power model trains:
DC (Direct Current): Simple and included in most starter sets. One train per loop.
DCC (Digital Command Control): Allows you to control multiple trains independently. More complex, but future-proof.
Start with DC, then upgrade to DCC as your layout grows.
Baseboard or Benchwork
A 4×8-foot sheet of plywood on a sturdy frame is a classic starter base. If space is limited, consider folding tables or modular sections. Make sure the surface is level to avoid derailments.
Basic Tools
You don’t need a full tool chest, but these basics will help:
- Hobby knife or box cutter
- Needle-nose pliers
- Rail cutters (for trimming track)
- Small screwdriver
- Optional: soldering iron (for advanced wiring)
Scenery Supplies (Optional at First)
Once your track is working, scenery can bring it to life. Starter supplies include:
- Foam board or insulation sheets (for terrain)
- Grass mats or scatter
- Ballast (to cover track base)
- Trees, buildings, and figures
Planning Your Layout: Start Small, Think Ahead
Before laying down your first piece of track, take time to plan. A little forethought can save a lot of frustration later.
Sketch Your Track Plan
Use graph paper or free online tools like SCARM or AnyRail to draw your layout. A simple oval or figure-eight with a siding or two is great for beginners. Don’t worry about complexity—reliable operation is the top priority.
Plan for Growth
Leave room for:
- Turnouts (track switches) for adding sidings or yards later
- Expansion modules if you want to grow your railroad
- Easy access to all areas—avoid reaching over scenery to fix issues
Assembling Track and Building Your Layout
Once you’ve got a plan, it’s time to lay track.
Assemble Track Sections
Lay the track pieces on your baseboard loosely at first. Make sure the joins are snug and aligned. For flex track, use a track gauge to maintain consistent spacing.
Secure the Track
Temporarily tack it down with track nails, thumbtacks, or foam tape. Avoid gluing anything permanently until you’ve tested your layout.
Connect the Power
Attach your DC controller or DCC command station to the track using the terminal connectors. Most sets include easy plug-in wiring.

Test Everything
Place your locomotive on the rails and gently throttle up. If it stalls or jumps:
- Clean the track with isopropyl alcohol
- Check for loose rail joiners
- Make sure your power pack connections are tight
Basic Wiring Tips for Smooth Running
Good wiring ensures consistent voltage and smooth train operation.
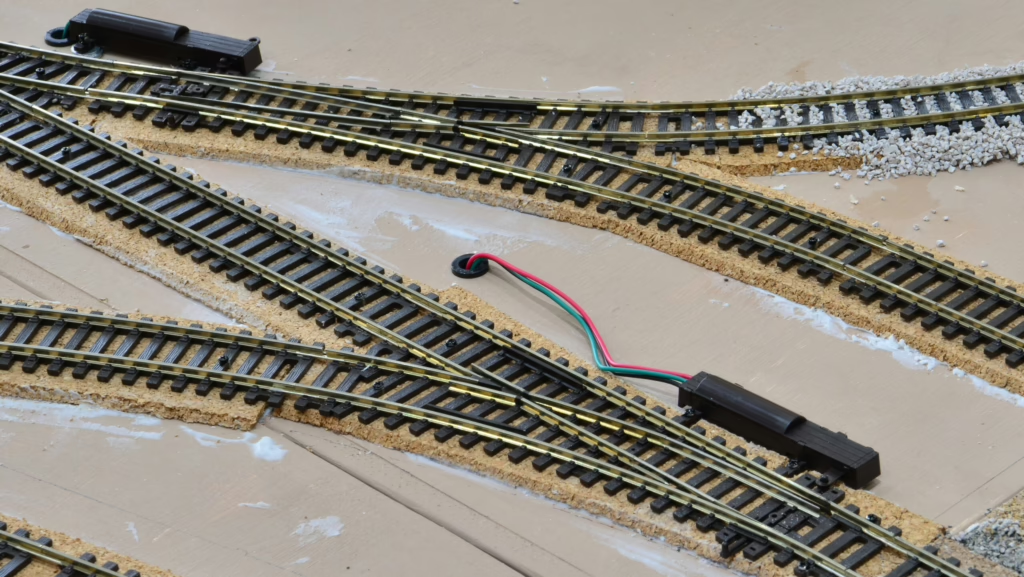
Use Bus and Feeder Wires
Even on a small layout:
- Run a bus wire (main wire) underneath the layout
- Attach feeder wires every 2–3 feet from the rails to the bus
Use 14-gauge wire for the bus and 18-gauge for feeders.
Stay Organized
Color-code your wiring—red for one rail, black for the other. Label everything for easy troubleshooting later. This video offers a visual guide on reliable track wiring.
Adding Scenery: Bringing Your Layout to Life
Scenery adds realism and makes your layout feel like a miniature world.
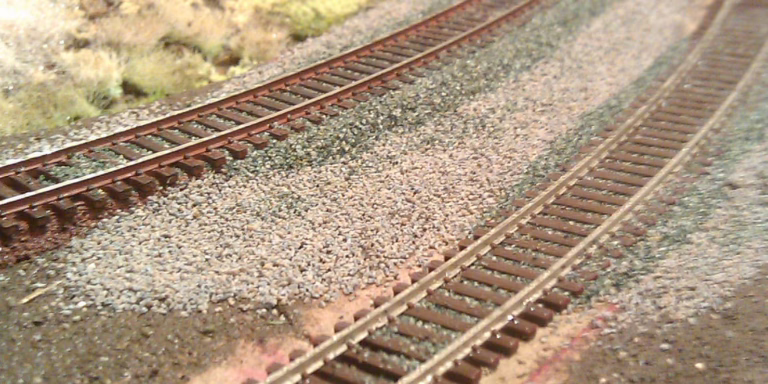
Ground Cover and Ballast
Start by painting your baseboard in earthy tones. Then apply:
- Grass scatter or turf
- Ballast along the track
- Gravel roads or dirt paths
Use white glue and a spray bottle of water/detergent to set everything in place.

Structures and Details
Add small plastic kits like stations, houses, or factories. Position them to match your chosen theme—urban, rural, or industrial.
Trees, bushes, cars, and people bring everything to life. Start simple, and expand as your skills grow. And by the way, Etsy is filled with artists who specialize in creative and custom scenery for any era of railroad in which you’d like to build.
Maintenance Tips to Keep Things Running
Just like real trains, model railroads need occasional care.
HO Track Maintenance
Clean track monthly using:
- Isopropyl alcohol
- A rubber eraser track cleaner
- Avoid steel wool, which can damage the rails
HO Locomotive Maintenance
Dust the shell with a soft brush. Use a drop of plastic-safe oil on the wheels and moving parts every few months.
Storage
Store extra trains and cars in foam-lined boxes. Keep them out of direct sunlight and humidity to prevent warping.
Troubleshooting Common Problems
Even well-built layouts hit snags. Here’s how to fix the most frequent issues:
- Train Won’t Move: Check power supply, dirty track, or misaligned wheels.
- Stalling or Jerky Movement: Clean the wheels and track. Add more feeder wires.
- Short Circuits: Inspect for reversed wires or metal objects touching both rails.
- Derailments: Look for misaligned track or gaps in rail joiners.
Growing Your Skills Over Time
Once your first layout runs reliably, expand your skills and your railroad.
- Add Turnouts: Create sidings or yard tracks to switch cars.
- Upgrade to DCC: Control multiple trains and add sound, lights, or automation.
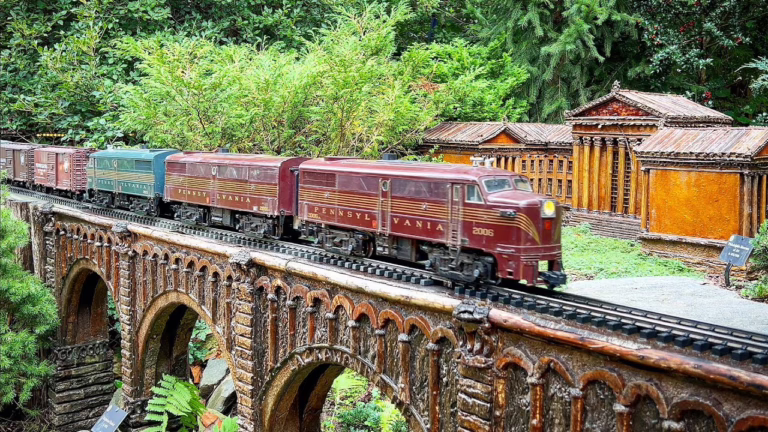
- Advanced Scenery: Build rivers, mountains, bridges, tunnels, and realistic weathering.
You’ll find endless inspiration in books, online forums, YouTube tutorials, and local model railroad clubs.
Final Thoughts: A Hobby Built to Last
Setting up your first HO scale train set is just the beginning. This is more than a hobby—it’s a blend of engineering, creativity, storytelling, and craftsmanship. Start small, stay curious, and build something you’re proud of.
Your first train loop might be simple, but with time and imagination, it can evolve into an entire world.