How to Wire A HO Scale Model Train Layout
Wiring an HO scale model train layout can feel intimidating, especially for beginners diving into the electrical side of the hobby. But with a little planning and the right tools, it becomes a fun and rewarding part of bringing your miniature world to life. In this FAQ-style guide, we’ll answer the most common questions about how to wire HO scale model train layout systems, from basic DC wiring to more advanced DCC setups.
Whether you’re starting with a small oval track or planning a multi-loop empire, this guide will help you understand how to get power to your trains—and keep them running smoothly. A downloadable checklist is available here.
What Are the Basics of HO Scale Layout Wiring?
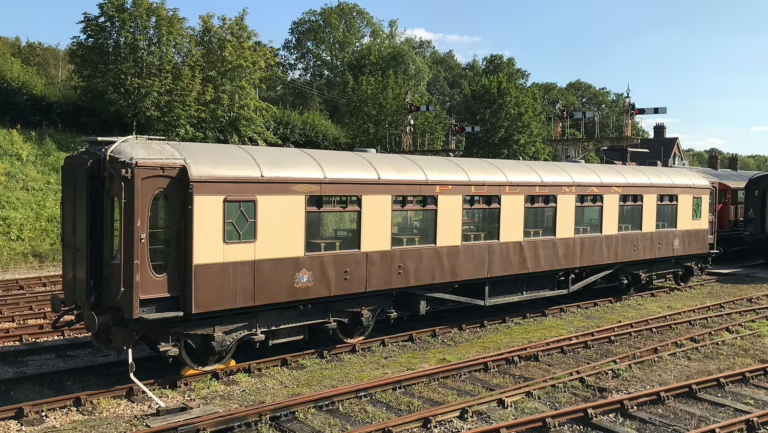
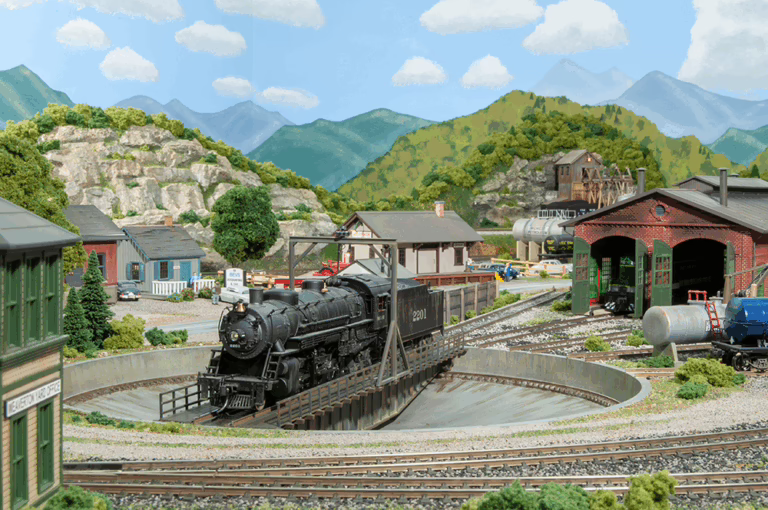
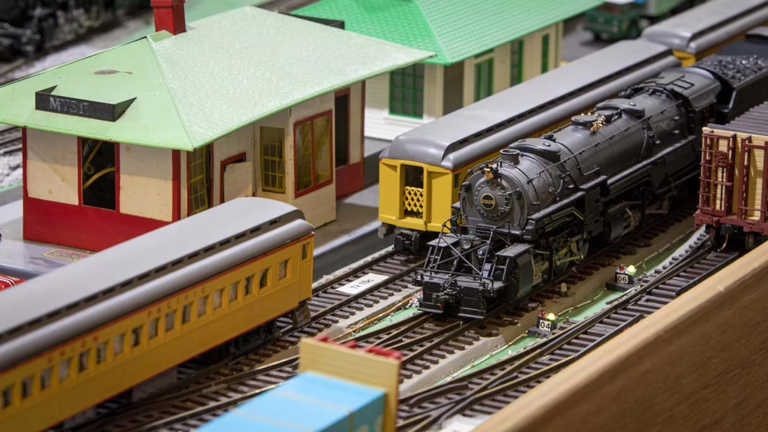
HO scale (1:87) is the most popular model train scale, offering a balance of detail and manageable layout size. Wiring involves delivering power from a controller (also known as a power pack or throttle) to the rails. For this, you’ll need:
- A power supply (DC or DCC system)
- Feeder wires (from the track to the bus wire)
- Bus wires (main power lines under the layout)
- Rail joiners or terminal joiners
- Soldering tools or wire connectors
Some Suggestions to start with:
- Bachmann Trains 44211 Power Pack with Speed Control
- Wago Lever-Nut Wire Connectors – Easy Alternative to Soldering
- Atlas Nickel Silver Rail Joiners
What’s the Difference Between DC and DCC Wiring?
DC (Direct Current) is the traditional method where power is controlled by voltage—more volts = more speed. Only one train can run independently on one block unless you add block wiring.
DCC (Digital Command Control) sends digital signals through the rails, allowing you to control multiple locomotives independently, even on the same section of track.
DC is simpler and cheaper, making it great for beginners. DCC offers more flexibility and realism for advanced layouts.
Suggested Products:
- Bachmann EZ-Command Plus DCC Controller
- Digitrax Inc. Zephyr Express Starter Set – Ideal for expanding layouts
Do I Really Need a Bus Wire and Feeder Wires?
Yes. Especially on anything larger than a 4×8 layout, relying solely on rail joiners can lead to power drops and unreliable performance. A bus wire acts as the main highway for electrical current under your layout. Feeder wires tap into this bus and deliver power to various points on the track.
Pro Tip: Feeders should be spaced every 3 to 6 feet for optimal performance.
Some suggested products:
What Tools Will I Need to Wire My Layout?
To wire your HO scale model train layout, here are the essential tools:
- Wire stripper and cutter
- Soldering iron (optional but recommended)
- Heat shrink tubing or electrical tape
- Terminal blocks or lever connectors
- Multimeter for testing voltage
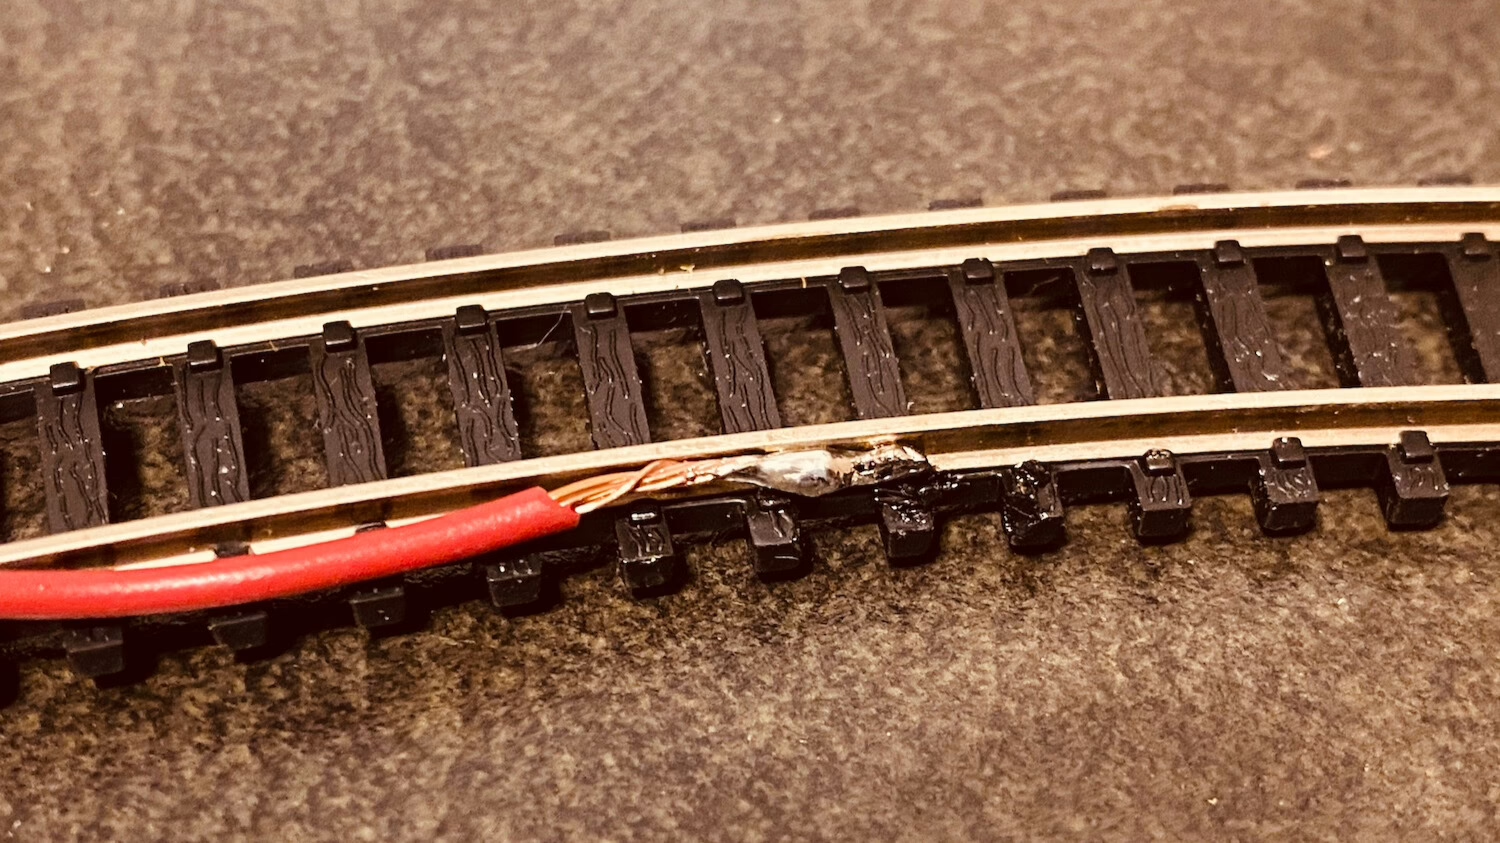
How Do I Solder Feeder Wires to the Track?
If you’re comfortable soldering, it’s the most reliable way to connect feeder wires. Strip the wire, apply a small amount of solder to the wire (tin it), then carefully attach it to the side or bottom of the rail. Use flux to ensure a good bond and avoid excessive heat, which can melt ties.
Don’t forget to test continuity and power flow afterward!
Can I Avoid Soldering?
Yes. While soldering offers stronger and longer-lasting connections, there are alternatives:
- Terminal rail joiners (pre-wired)
- Clip-on track connectors
- Lever wire nuts or quick-splice connectors
Suggested items:
How Should I Label My Wiring?
For any layout beyond the most basic, labeling is essential for troubleshooting. Use colored wires (red for positive, black for negative, etc.), and add masking tape or wire labels at each connection point.
How Do I Create Power Blocks?
In DC layouts, power blocks are isolated sections of track controlled by toggle switches. This allows you to run multiple trains on different parts of the layout. To do this:
- Insert plastic rail joiners to isolate sections.
- Run feeder wires to toggle switches.
- Connect each switch to your power pack.
For DCC users, power districts help with current protection but aren’t required for running multiple trains.
Suggested Products:
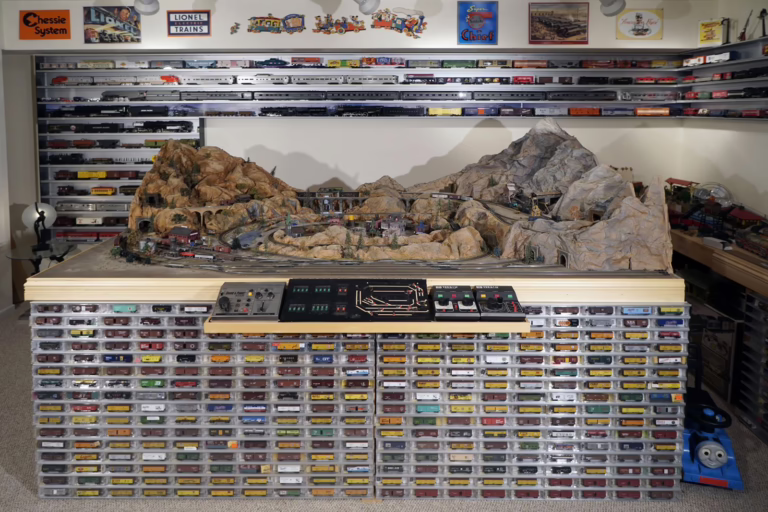
Should I Use a Control Panel?
A control panel is optional but incredibly helpful for larger layouts. It allows you to manage power blocks, switches, signals, and more from a central location. Use a printed track diagram and mount toggle switches or rotary dials accordingly.
How Can I Avoid Voltage Drops?
Voltage drops can cause trains to stall or slow down. Avoid them by:
- Installing feeder wires every 3-6 feet
- Using heavier gauge wire for the bus
- Avoiding corrosion at rail joints
- Using rail joiners with tight connections or soldering them
Use a multimeter to test voltage consistency around the layout.
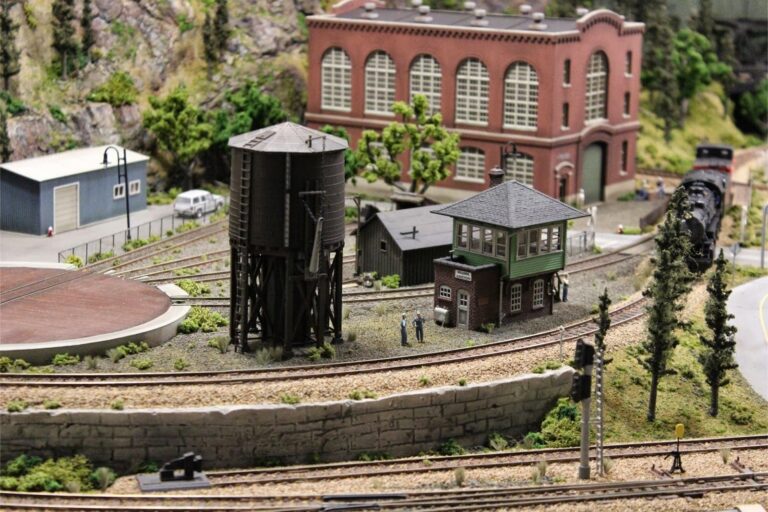
Can I Automate Turnouts and Accessories?
Yes! Many modelers wire switch machines (like Tortoise or Atlas) to control turnouts. For accessories like lighting or crossing signals, use separate accessory power supplies to avoid overloading your main bus.
Suggestions:
Final Thoughts
Wiring is one of the most technical yet satisfying parts of model railroading. Start simple, test often, and expand as your confidence grows. Whether you’re running a single train or a fully automated operation, learning how to wire HO scale model train layout systems opens up a world of possibilities for fun and realism. For a downloadable checklist of all the necessary elements you’ll need to successfully wire an HO model train layout, click the button below.